This article explains how to use the Edit Table tool to quickly make updates to your product, rep, and customer tables directly in AMP—without the need for Excel. The Edit Table feature is a powerful, user-friendly way to add, remove, and modify data directly in AMP.
Getting Started with the Edit Table Tool
Follow these steps to begin editing your tables:
Navigate to the Table You Want to Update
- For this example, we’ll be using the Product Table. To find it, go to Manage Catalog > Products/SKUs.
Open the ACTIVE TABLE
- Once you’re in the desired table, make sure you have the ACTIVE TABLE open to make edits.
Click the "Edit Table" Button
- In the grey table editing bar at the top, click the Edit Table button to enter the editing mode.

Overview of the Edit Table Menu Bar
The Edit Table menu provides several useful tools for managing your data. Here's a breakdown of the key features:
1. Search Field (Far Right)

- Use this to search for specific data within the table. You can search by product name, SKU, or other attributes.
2. List of Rows and Columns
- Displays how many rows and columns are in the current table, helping you gauge the table's size.
3. Raw/Computed Toggle

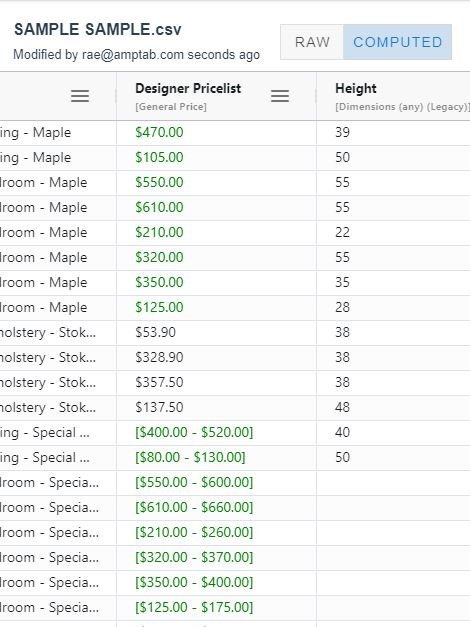
- Toggle between Raw data (original data without any formulas) and Computed data (data with applied formulas). This helps you decide if you want to edit the raw data or view the results after formulas are executed.
4. File Information

- Displays the name of the file, the last person who modified it, and when the last modification was made.
5. Undo/Redo Arrows

- These buttons allow you to quickly undo or redo recent changes.
6. Save Button

- Click this to save your changes and make them live in the Shop/Sell environment.
- *Note - The system will automatically save any changes you make to your table within 60 seconds.
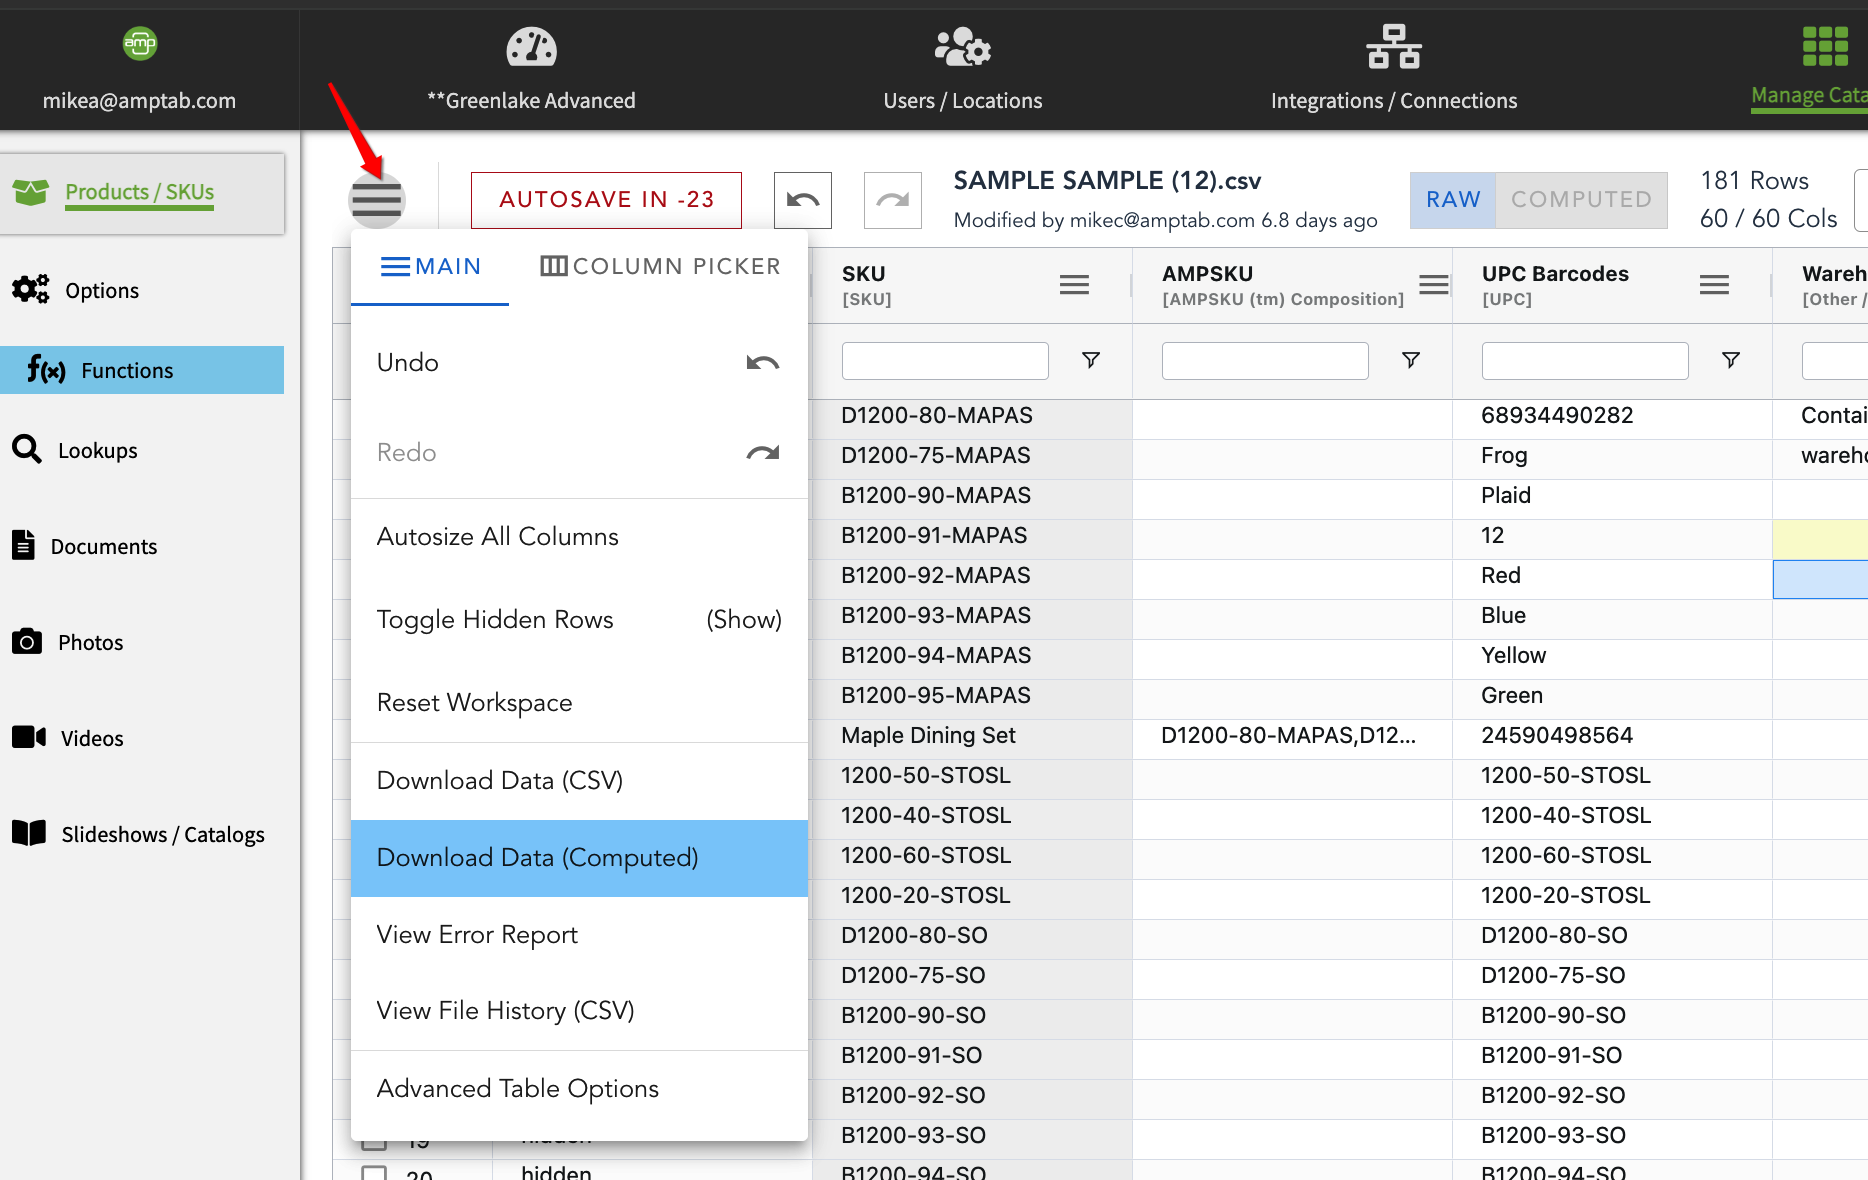
7. Hamburger Menu (Left)

- Access additional features like:
- Undo and redo actions
- Download data as a CSV file (raw or computed)
- View error messages and the history of changes
- Autosize columns to fit the data
- Toggle hidden rows on or off
- Reset the workspace to its default settings
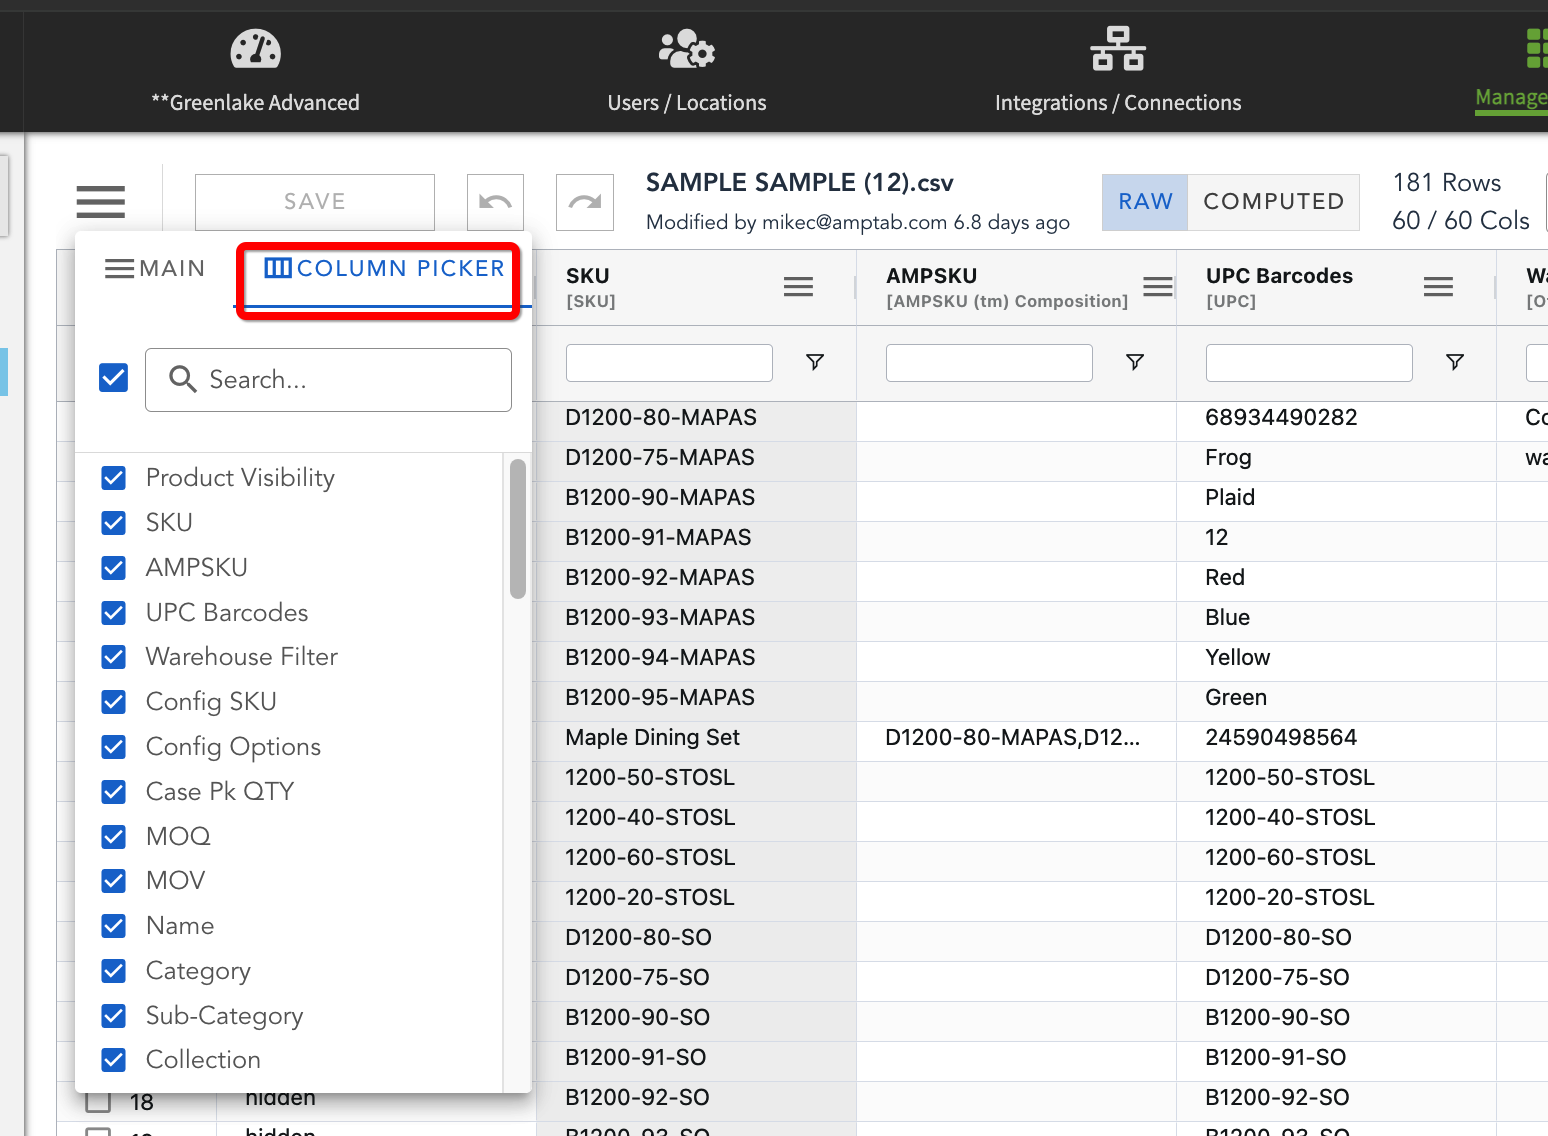
8. Column Picker

- Customize which columns are visible while you’re working. This feature doesn’t affect the live environment—it only changes your view while editing. This is helpful when you want to focus on specific data, such as pricing or SKUs.
Making Edits to Your Table
Within the table, you can perform various actions to update and manage your data:
1. Update Items
- Simply click on a cell and start typing to update the value. Changes are automatically saved every 60 seconds, or you can click the Save button to save immediately.
2. Add or Remove Items or Columns
- To add a new column, simply click the hamburger icon, select Modify, then select Insert Right or Insert Left (depending on where you would like the new column to be placed)

- Right-click on a row and select Remove Row to delete an item. To delete multiple rows, select them by checking the boxes next to the row numbers and right-click to remove them in bulk.

- To remove a column, right-click the hamburger icon and choose Modify, then click Delete:

3. Sort Data

- Click on a column header to sort by ascending values. Click again to sort by descending values, and a third time to revert to the original sort order. An arrow will appear next to the column header to indicate the sort direction.
4. Column Options (Hamburger Menu)

- Click on the hamburger menu next to any column header for additional options, including:
- Pinning the column
- Filtering data
- Modifying column settings
5. Filter Data

- Use the filter feature to drill down into specific subsets of data. For example, you can filter to show only SKUs containing a certain text (e.g., "SO"), and then apply an additional filter to show only items related to "Dining."
We hope you enjoy using the Edit Table feature to manage your data more efficiently! If you need further assistance, please contact support@amptab.com with any questions!
